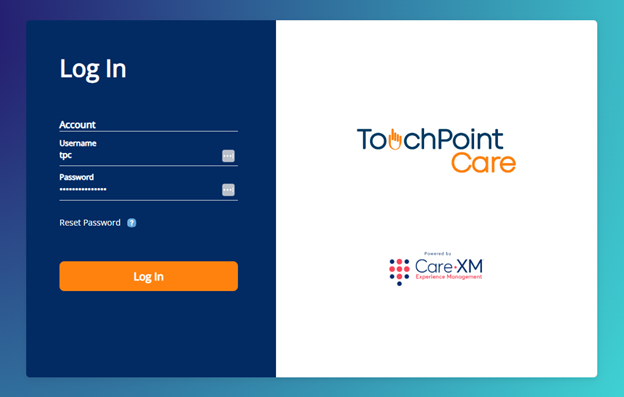
To access TouchPoint Care, go to https://www.touchpointcare.net/
Care Coordinators will login to the TouchPoint Care portal with the Account name, personal Username, and Password.
Once logged in, you will be on the landing page and can choose from the different actions by hovering over the menu bar on the left side.
The Concept
- Groups are designed to enable a Provider to create Question Series and Schedules that are common to a Group of Participants.
- Groups include one or more Participants.
- A Participant may be assigned to more than one Group.
Creating Groups
1. Go to "Groups", then "All Groups". 
The "All Groups" section will appear.
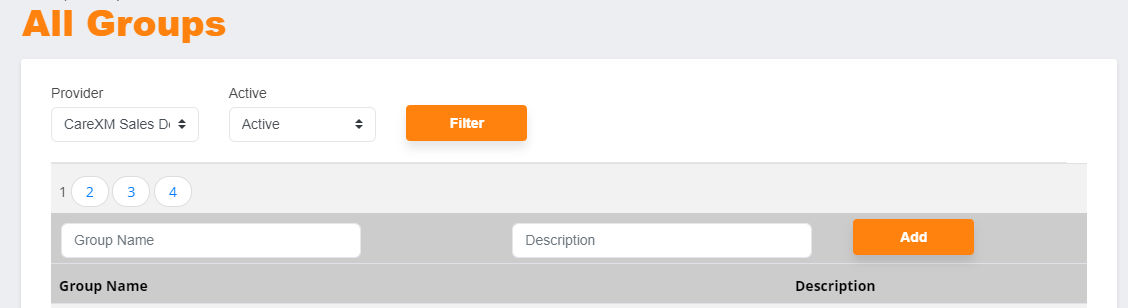
2. Before adding/creating a new group, check the list under "Group Name" to make sure it doesn't already exist.
3. If it doesn't exist, type in a group name in the "Group Name" field (a.), then click "Add" (b.).
4. The screen will automatically refresh with the new group added to the list.
Assigning Groups
To assign a participant to a group,
1. Go to "Groups", then "Assign Groups".
2. The Assign Groups screen will appear. Under "Select Group", use the up/down arrows to select the desired group.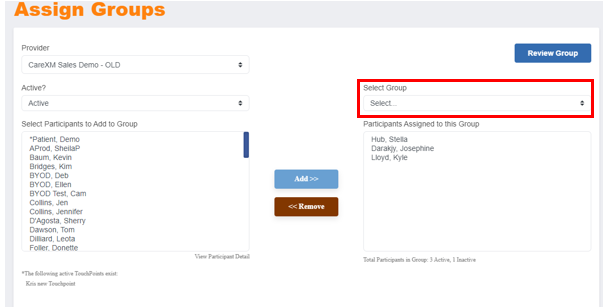
3. Upon selection of a group (example: **Heart Failure High Tech), the system displays a list of participants. 
4. Select a participant from the "Select Participant to Add to Group" list (a.), then click on the "Add>>" button (b.). Their name will then appear in the list on the right.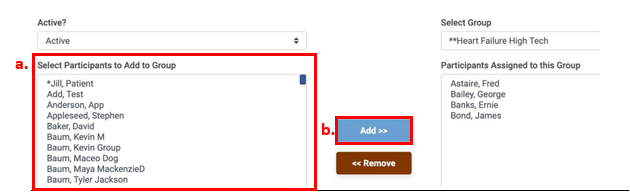
Delete a Participant from the Group
1. Go to "Groups", then "Assign Groups".
2. The Assign Groups screen will appear. Under "Select Group", use the up/down arrows to select the desired group.
3. Select the name from the "Participants Assigned to this Group" list (a.) and click on the "<<Remove" button (b.). The name will appear back in the list on the left.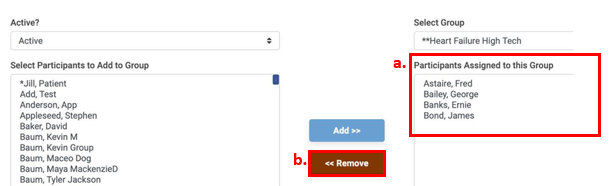
- The participant will not be deleted but will be removed from the group.
Deleting a Group Name
1. Go to "Groups", then "All Groups".
2. The "All Groups" page will appear. On the "Group Name" list, click on the group name you want to delete.
3. When that group screen appears, remove the checkmark next to "Active".
4. Click on "Update".
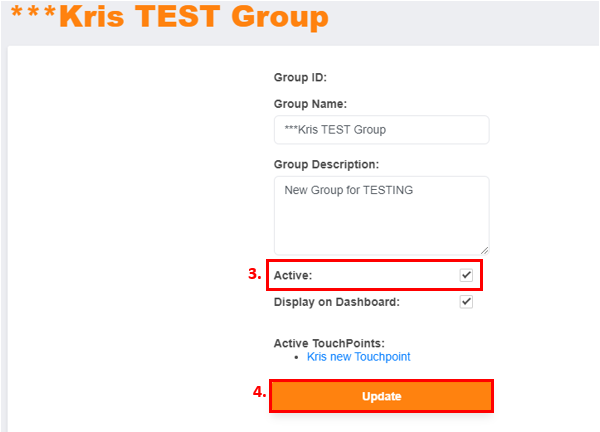
- The system will not delete the group, but it will make it inactive.
Reporting
- The TPC system was designed to provide reports based upon Groups, among other things. Since the Provider can generate reports for any Group, the naming conventions used to create Groups should be considered.
Assigning Groups from a Participant Data File
See the description regarding adding Participants from a data file. This same file can contain Group Assignment information for each Participant.