To access TouchPoint Care, go to https://www.touchpointcare.net/
Care Coordinators will login to the TouchPoint Care portal with the Account name, personal Username, and Password.
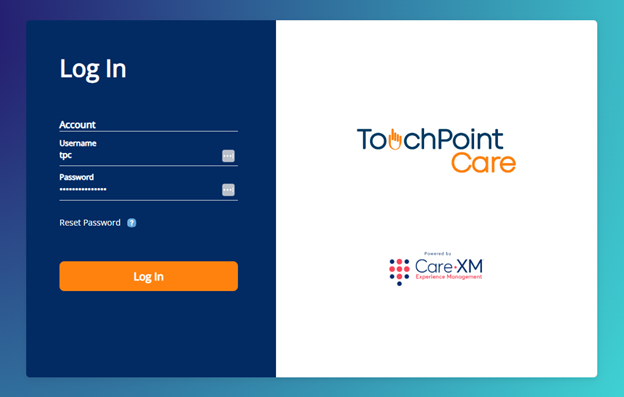
Once logged in, you will be on the landing page and can choose from the different actions by hovering over the menu bar on the left side.
The Concept
The TouchPoint Care System was designed to minimize data entry to the bare minimum. Each participant can have a unique Question Series and schedule. A participant can also be assigned to a Group, which can have its own unique Question Series and Schedule.
Add New Participant
To learn how to add a New Participant (Patient), click here and follow those steps.
Details Section
The Details Section will contain the patient's demographic details. On the Participant Information page, you may add additional information as needed.
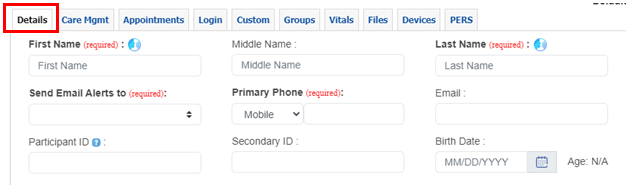
- When you scroll down, you can edit the information under "Contact Information" , “Emergency & Medical Contacts”, and “Personal Information” sections. Click on the plus (+) sign to open this section and complete information as needed.
- When editing time zone, enter Provider's default. The system will automatically adjust to the patient's time zone.

- On the right side of the Details section, click on the blue question (?) mark to see explanations as needed.
Care Management
- The Care Management Section is the best for charting notes with specific patient information. You can find it under the “Communication Center” tab on the menu from the left.

-
- Care Plan Sub Section - Document the patient's care plan, upload related files, and add patient's providers.
- Medication Sub Section - Add medications, pharmacies, and upload related files.
- TouchPoint Sub Section - View scheduled TouchPoints.
- Assign to Group(s) Sub section - View currently assigned groups or assign participants to new groups.
- Care Management Activity Sub Section - View, enter, and export care management time.
- Appointments Section - View and add scheduled appointments.
- Login Section - View and update participant login information.
- Custom Section - Displays custom fields based on organization configuration.
- Groups Section - View currently assigned groups or assign participant to new groups.
- Vitals Section - View and document vital readings.
- Files Section - View and upload participant files.
- Devices Section - View and update assigned devices.
- PERS Section - Personal emergency response device details.
Filtering
- Go back to the menu and select “Participants”, then “All Participants” to get to the Participant List.

- Use/edit the filters available then press the “Filter” button to sort and only display those within your filter criteria.
- When text is entered into the “Participant Name” or “Provider” field, and you click “Filter”, only those participants that match the text will be returned.

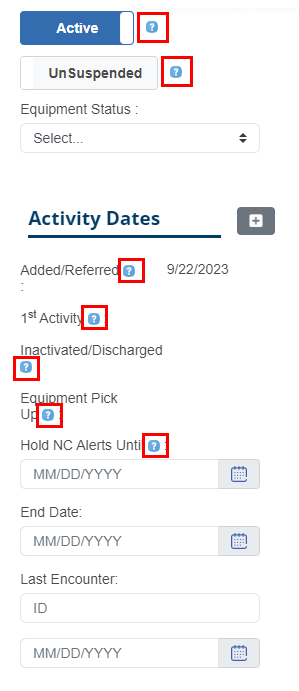
- Active vs. Inactive (Active/Suspended)
- All participants are active when created.
- When “Inactive”, all scheduled calls for that participant are suspended.
- A provider can make a participant “inactive” by clicking on their name and selecting the Active box to remove the check mark.
- “Uncooperative” and “Bad Data” automatically inactivates a participant. (See Manage Call Center > Call Results section for more details)
- Alert ID
- The alert ID is an internal TouchPoint Care participant identifier.
- When a participant response triggers an alert, the system automatically generates an email to an address defined by the provider.
- To comply with HIPAA guidelines, the email does not contain the participant's name.
- Email notifies the provider that a participant with an Alert ID # of ___ has triggered an alert. (See Alert section for more details).
- To identify a participant by Alert #, type the Alert # in the “Alert ID” field and click on “Filter”. The system will display that specific person.
- Provider Unique ID (Pt. ID)
- In addition to the system generated Alert ID, you can also enter a unique ID for each patient.
- The Unique ID can be any combination of numbers and letters.
- The provider’s Unique ID, if any, will be displayed on all email alerts.
- List of participants can be sorted and filtered by the “Provider Unique ID”.
- Editing Participant Data
- To edit data, click on the participant’s name and then add, change, or delete information.
- Click “Update” to ensure change is saved.
- Comments Field
- The “Add Participant” screen has a comments field in which you can enter any information relative to that participant.
- The information is displayed on every question that is asked of that participant.
- An example of a “Comment” that might be helpful to the Call Agent would be, “Ted is hard of hearing, please speak loudly”.
- Internet access for participants
- The TouchPoint Care system was designed to enable a participant to answer a question series on the internet without any inbound or outbound phone call.
- If a provider chooses to interact with a participant via the internet, the provider must share login information with the participant.
- The system automatically assigns each new participant an internet login ID and password.
- The ID is the participant's phone number, and the password is the participant's last name.
- The first time a participant logs into the system, they are prompted to create a new password.
- Once logged in, the participant will see a menu on the left side of their screen allowing them to answer the question series, view or print out their schedule, and view reports of responses they have made.
- Answering Questions
- When a participant chooses “Answer My Questions”, they will see a schedule of available question sessions.
- They can modify the filter options, and when ready, they can again select “Answer My Questions” and the first question will appear.
- The participant will answer each question and then select either the “next” button to proceed to the next question or “back” to return to the previous question.
- When all questions are completed, the participant will see a summary of all responses and will have the option of reviewing and editing any of these responses, and when finished, will click on the “Submit Questions and return to Schedule” button.
- Security is set so that a participant can only answer questions specifically targeted for them, as well as only see their own data via the report options.
- Adding Participants from a data file
- TouchPoint Care has developed and interface to electronically load Participant data into the system from an XML file created by our customers and “pushed” to the touchpointcare.net application via Secure FTP.
- TouchPoint Care will poll the SFTP server periodically and when an XML file is detected, it is processed.
- The Participant Interface has the ability to add Participants to a group.
- The Interface also allows you to Inactivate and Activate participants are required.
- Editing Participant Data
- To edit data, click on the participant’s name and then add, change, or delete information
Participant Report
- Go to the Menu and select "Participants", then "Participant Report".
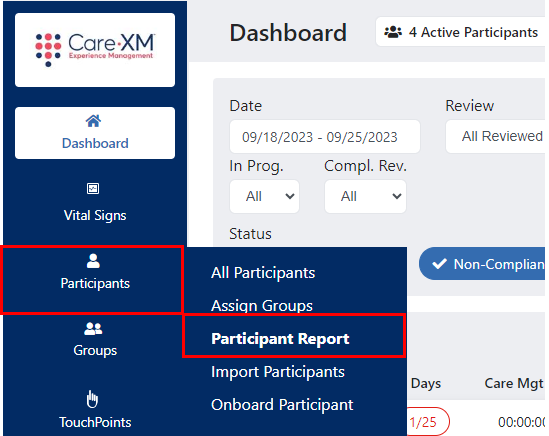
- The Participant Report Screen will appear.
- Each of the fields on this screen are “Searchable”.
- The report will display any participants that match all the criteria entered in any of the fields.
- Fill in the fields to search and click on the “View Report” button.
Manually Added Vitals
- Click on the "Participants" tab, then select desired participant.
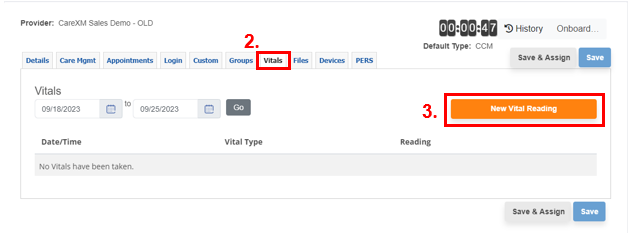
- After selecting the participant, click on the "Vitals" tab.
- You'll be taken to a page with the patients' past vitals. In the top right, click on "New Vital Reading".
- Select "Vital Type", enter in a reading date/time, and the reading.
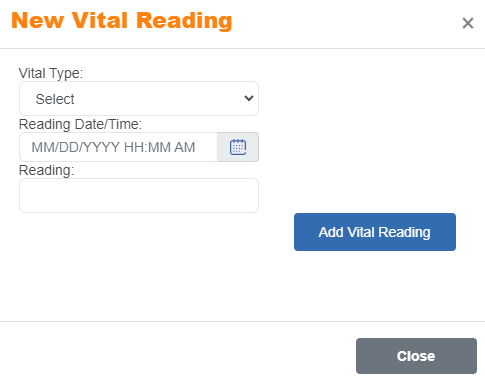
- You can enter another vital reading by clicking on "Add Vital Reading".
- When you finish entering vitals, hit "Close". It will take you back to the Previous page. Make sure yo click the "Save" button.